All unexpected Maker boards are supported in the Arduino IDE, and using them is the same as using any other ESP32 based board.
First time flashing Arduino code on your new UM Board?
Unexpected Maker ESP32-S2, ESP32-S3 and ESP32-C6 boards ship with CircuitPython on them, and when you plug them in, even though you can see a serial port in the Arduino IDE, and you can even select it, you can’t actually use that port to flash them.
You need to put your board into download mode the first time you flash them in the Arduino IDE, which will then present you with a different serial port to select and flash.
After the first time flashing (and removing CircuitPython) from your board, you will be able to continue flashing the board without download mode, so long as you keep Enable CDC on Boot set to true.
First time using Arduino IDE?
Please make sure you install the latest version of the Arduino IDE for your OS from the Arduino website.
Once installed, please follow the official Espressif documentation for installing the ESP32 Arduino Core support.
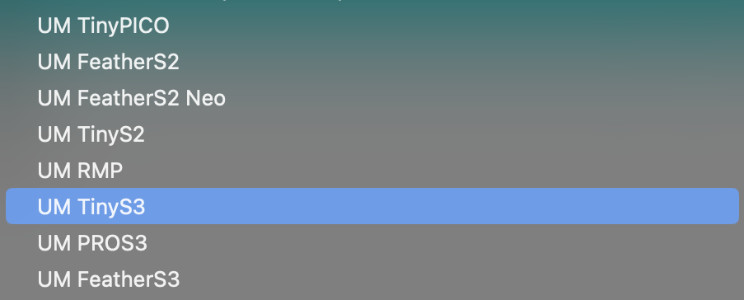
Once the ESP32 boards support is installed, you can select your new board from the boards drop down list.
All of the Unexpected Maker boards start with UM before the name.
Existing Arduino IDE user?
If you already have the Arduino IDE installed, and also have the ESP32 Arduino Core support installed, please make sure you are using the latest version to get all of the new features and bug fixes.
Flashing in the Arduino IDE
When using the Arduino IDE for development with an Unexpected Maker ESP32-S3 board, there are a few things you need to be aware of.
Getting Serial Output
The Unexpected Maker ESP32-S3 boards leverage the native USB inside the S3 chip and do not use an external SerialUART chip like older ESP32 boards did.
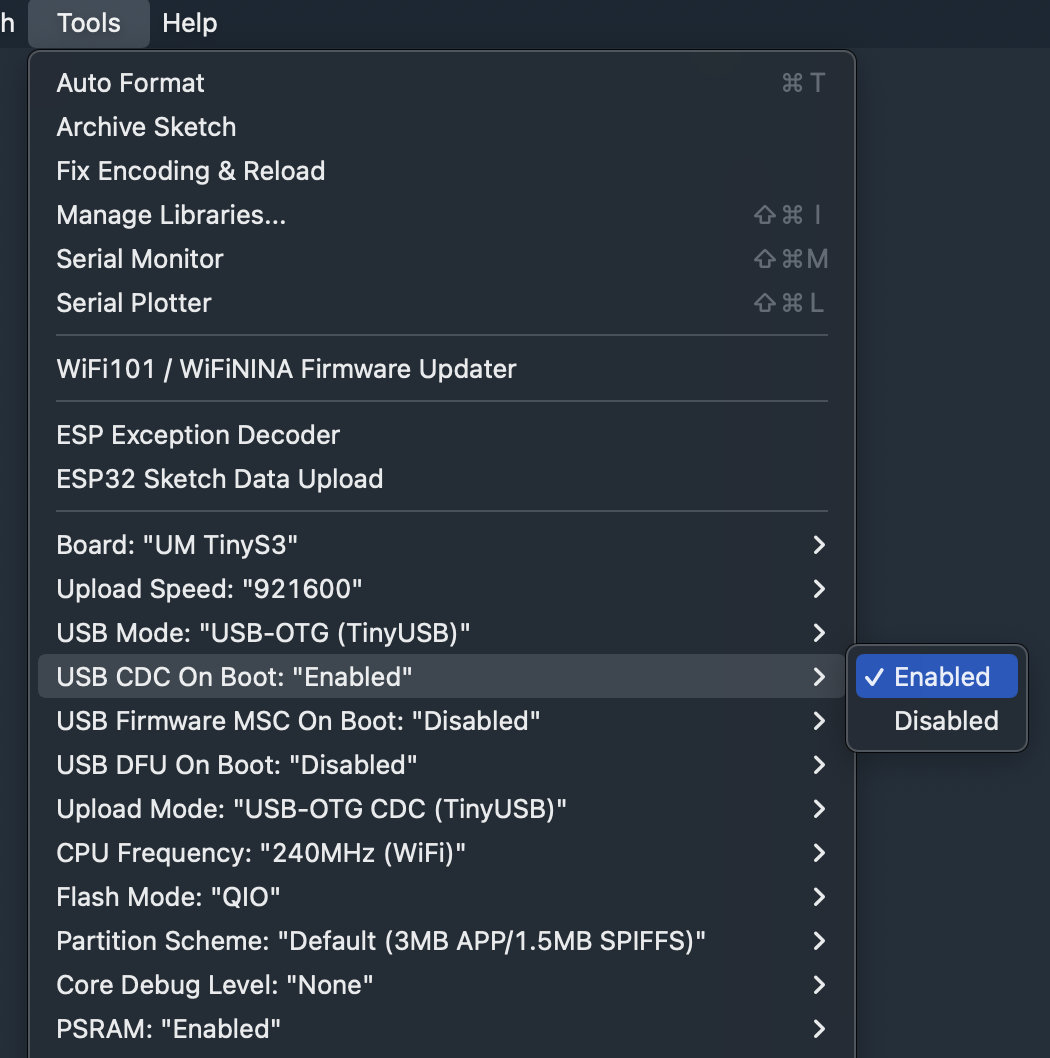
This means you need to enable the CDC on boot option in the Arduino IDE tools menu to ensure the native USB is enabled when your code runs.
Without the USB enabled, you won’t see a serial port and you won’t get serial output in the Arduino serial console.
USB also takes a few seconds to become active once your code starts running, so any Serial output you send right after opening the port will be lost.
So it’s best to add a 1-2 second delay after initialising the serial port to ensure you get all the Serial output you expect:
void setup(void)
{
  Serial.begin(115200);
  delay(2000);
  Serial.println("Hello world!");
  ...
NOTE! There is currently an outstanding issue when flashing any ESP32-S3 based board via native USB using the USB OTG (TinyUSB) mode, where once flashed, the board doesn’t reset and start running your code automatically.
This issue is scheduled to be fixed by Espressif in the upcoming 3.0.0 version of the ESP32 Arduino Core, but until then, you’ll need to press reset on your board once your firmware is flashed, for your code to start running.
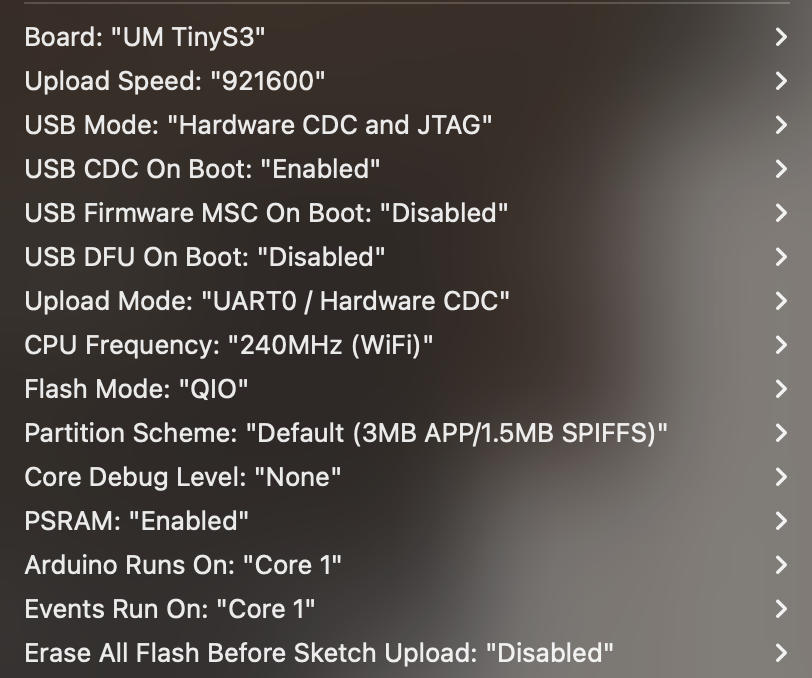
Alternately, you can use the Hardware CDC and JTAG USB Mode, and UART0 / Hardware CDC Upload Mode to flash your board, but you will loose the ability for your project to leverage any of the TinyUSB functionality like HID, Midi and Mass Storage.
Hopefully this will be fixed soon!
Platform IO
The same reset after flashing requirement also exists in Platform IO, as it uses the same Arduino ESP32 Core that the Arduino IDE uses.
You can set the USB mode to Hardware CDC and JTAG like in the Arduino IDE by adding the following build settings to your platfomio.ini file in the build flags section:
build_flags =
   -D ARDUINO_USB_MODE=1
   -D ARDUINO_USB_CDC_ON_BOOT=1
Here’s an example of how to use an UM Feather S3 in platformIO. This is in the platformio.ini file:
[env]
platform_packages = platformio/framework-arduinoespressif32
platform = platformio/espressif32
board = um_feathers3
framework = arduino
board_upload.wait_for_upload_port = false ; Waiting isn't needed for CDC/JTAG USB mode

lib_deps =
	Wire
	SPI
	; Add your other libraries here

build_flags =
	-D ARDUINO_USB_MODE=1 ; CDC/JTAG USB mode
	-D ARDUINO_USB_CDC_ON_BOOT=1 ; Needed for USB to enumerate when user code starts
I have a full PlatformIO example project for the FeatherS3 on GitHub.
The example can be altered to work with any other UM board by changing the line
board = um_feathers3To any other UM board.